

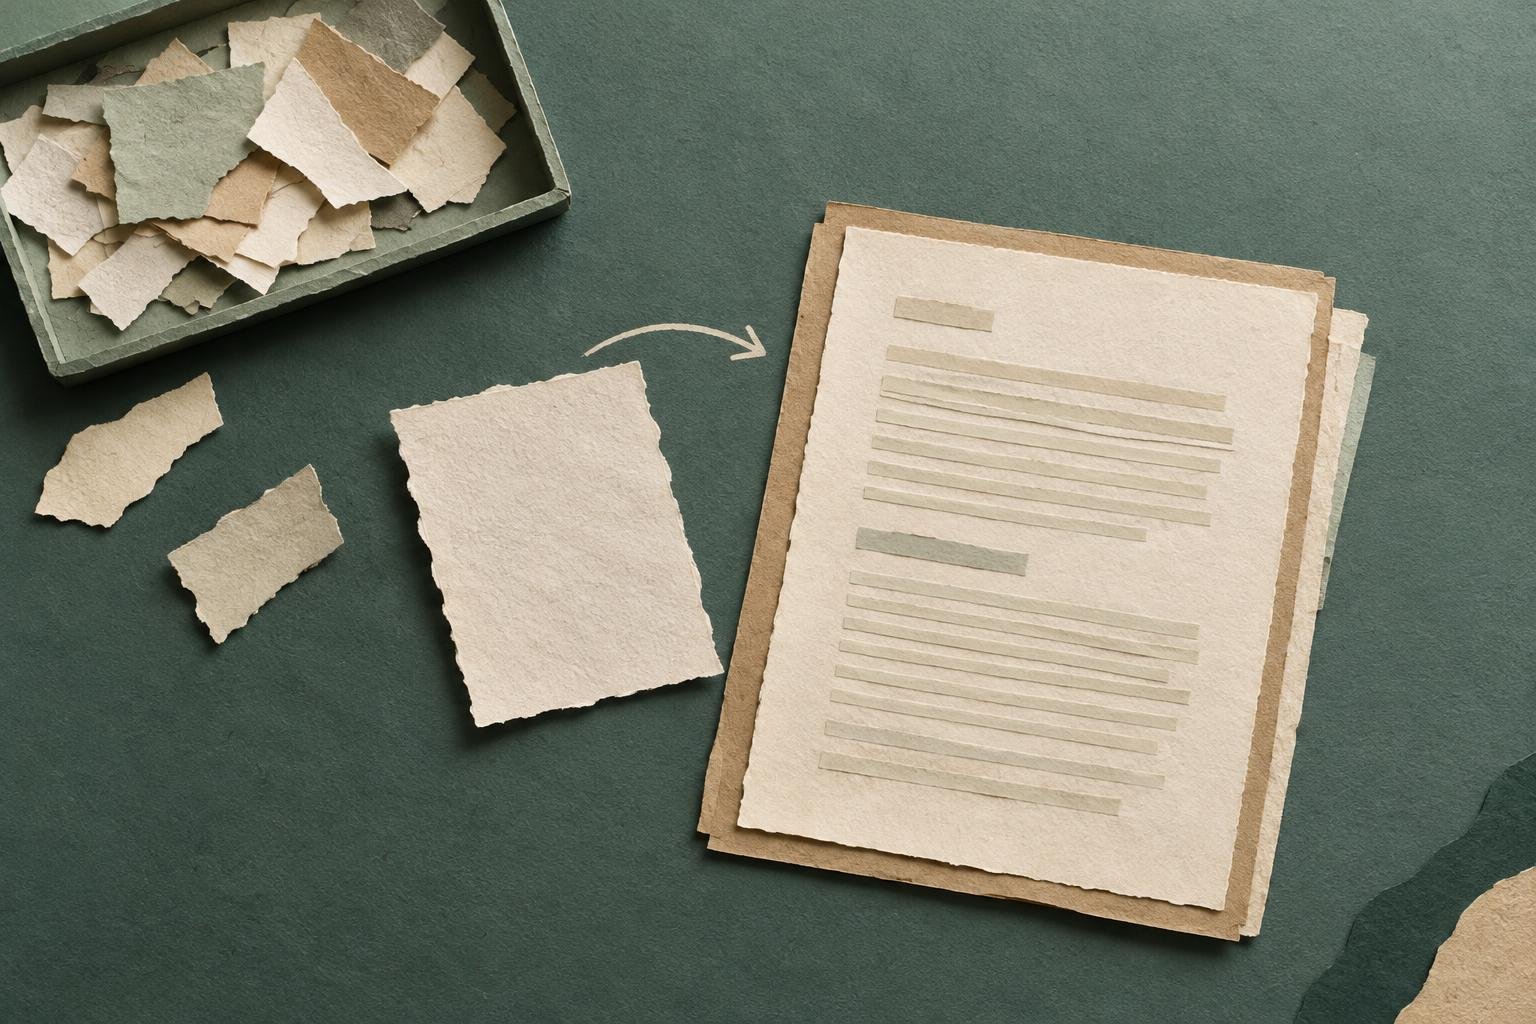
Good ideas often arrive in fragments: a detail from a conversation, a question readers keep asking, a fact to check, or a sentence you do not want to forget. The challenge is turning those pieces into a post that feels organized rather than pasted together. Learning to write a blog post from notes gives you a reliable path from raw material to a readable first draft.
You do not need to use every note, and you do not have to write in the order your ideas arrived. First separate useful material from distractions. Then decide what the post should help readers do and build a clear sequence around that purpose.
Write a blog post from notes by starting with the reader’s question
Before organizing your notes, write down the question the post will answer. Keep it specific enough to help you decide which details belong. For example, “How can a new blogger plan a month of posts?” gives you a clearer boundary than “Blogging ideas.”
Next, write a one-sentence answer to that question. This is a working direction, not necessarily your final introduction or thesis. It helps you judge your notes. If the question is how to plan a month of posts, a note about choosing a topic may fit, while a note about designing a logo probably does not.
If you cannot summarize the answer yet, look for the uncertainty behind your notes. You may have gathered information about several related subjects without deciding which problem you want to solve. Choose one reader need for this post and save the other ideas for later.
Sort your notes before you draft
Put all the material in one place, whether it is in a notebook, a document, or a notes app. Include short reminders, examples, questions, source links, and incomplete thoughts. Do not polish the wording yet. The goal is to see what you have.
Then label each note by its purpose. A small set of categories is usually enough:
- Main point: The central answer or advice the reader needs.
- Supporting detail: An explanation, reason, or step that develops the main point.
- Example: A specific situation that makes the advice easier to understand.
- Question: Something you still need to answer or verify.
- Save for later: An idea that belongs in another post or is not needed here.
With digital notes, copy the material into a document and add these labels. For paper notes, use simple symbols or rewrite each useful idea on a separate line. The format matters less than being able to compare and rearrange ideas without losing them.
Be willing to set material aside. A note can be interesting and still be a poor fit for this article. Keeping every thought can make a post wander, so create a separate list of future ideas rather than forcing unrelated details into the draft.
Group related ideas into a useful sequence
Look for notes that answer the same part of the reader’s question. Give each group a short label, such as “choose a goal,” “collect examples,” or “check what is missing.” These are working section names, not final headings.
Once the notes are grouped, arrange them in the order a reader will need them. A process often works best in chronological order. An explanation may work better if it starts with the problem, gives the core principle, and then shows examples. Ask what the reader needs to understand first to make sense of each point that follows.
At this stage, make a quick map of the post. It might look like this:
- Explain the problem the reader is facing.
- Give the first action to take.
- Show how to handle a common obstacle.
- Offer an example or a way to check the result.
This is enough structure to begin drafting without turning the process into another research project.
Check for gaps and unclear notes
Read through each group and ask whether a reader could follow the point without knowing what you meant when you wrote the note. A fragment such as “do this before publishing” may have made sense in the moment, but it will not help later unless you identify what “this” refers to.
Turn vague reminders into questions. For instance, “email list?” could become “Should this post explain how to share the article with subscribers?” Answer only questions that matter to the post’s purpose. You may need to look up a fact or confirm a process, but you do not need to investigate every side topic.
Mark uncertain claims clearly so they do not accidentally enter the draft as facts. Keep source links next to the claims they support. If you are relying on your own experience, label it as an example or personal observation rather than presenting it as a rule for every blogger.
Before you write, check whether you have enough material for each planned section. A group with one vague note may need another example or a clearer explanation. A group with too many notes may contain two separate points and deserve to be split.
Draft one section at a time
Start with the section that feels easiest, not necessarily the introduction. Use the group label as a temporary heading, then turn the notes beneath it into connected explanations. A simple pattern is to state the point, explain why it matters, and give an example or next step.
For example, a note that says “save unrelated ideas” can become a short paragraph explaining that a promising detour may suit a later article, followed by a practical action: move it to a separate idea list. The note supplies the seed; your explanation makes it useful to the reader.
Do not copy every fragment into a sentence. Some notes are prompts to think, not content for the published post. Combine repeated points, replace shorthand with plain language, and add transitions that show how one idea leads to the next. Keep the reader’s original question in view as you work.
If you get stuck, leave a clear placeholder such as “add an example of a beginner’s monthly plan” and continue. A placeholder is easier to resolve than an empty page, and it prevents one missing detail from stopping the rest of the draft.
Review the draft against your original notes
Once you have a full draft, compare it with your notes and your one-sentence answer. Check that the article still addresses the reader’s question, that useful examples made it in, and that no unsupported claims slipped through. Remove notes that became redundant as you explained the ideas.
Also check for missing context. A draft may sound clear to you because you remember why you wrote each note. A new reader needs the connection spelled out. Add a brief explanation where the logic jumps, and cut details that distract from the main answer.
Keep the raw notes until the post is complete. They can help you confirm details, recover an example, or find a source. Once the draft is ready for a separate editing pass, you can set them aside. The goal is not to preserve every fragment. It is to turn the most useful ones into a post that gives readers a clear answer.